Installing a false ceiling is a project that can change how a room looks and works.
This article offers a complete guide about false ceiling installation. It will help you get a professional finish that lasts long. However, planning is very important because errors can happen. Although it may seem tough at first, this guide will help you understand the process better.

Types of false ceilings:
- Gypsum False Ceiling: Gypsum boards are made from the mineral gypsum. They are generally used in the construction of walls. They are popular because they have a smooth finish and are easy to install.
- Grid False Ceiling: A suspended ceiling is made of metal grids with tiles placed inside. It is also called a drop ceiling. This type of ceiling is great for offices and commercial spaces.
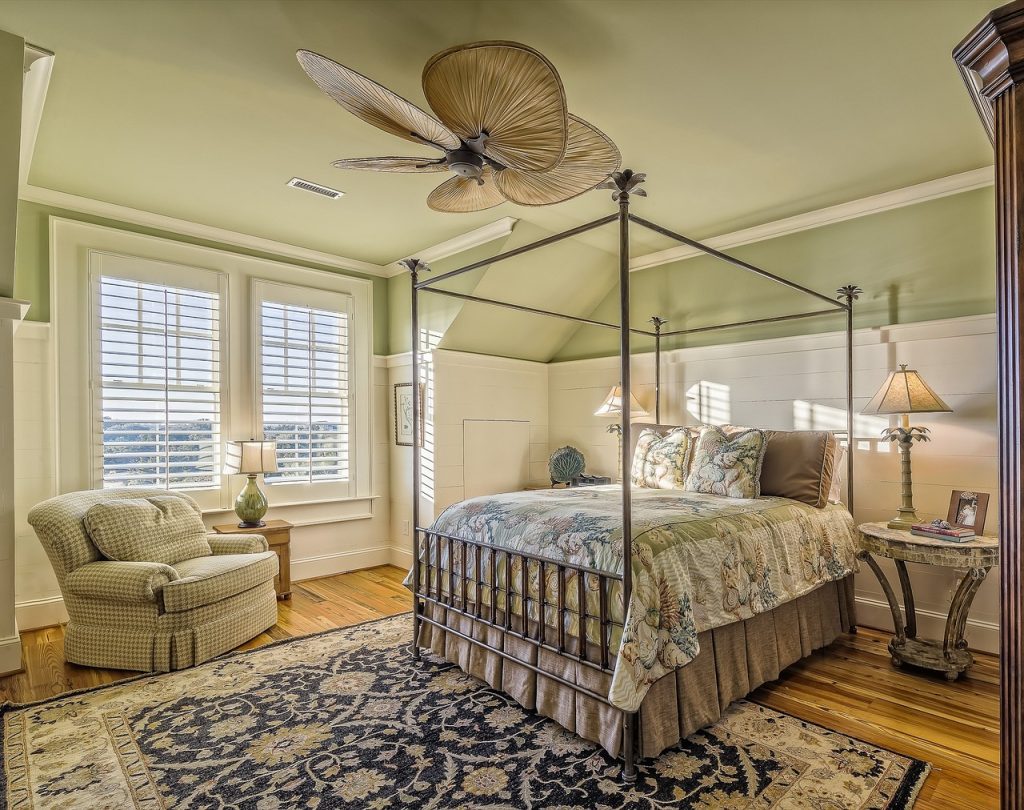
- Wooden False Ceiling: Made from wood panels or laminates. It gives a natural and warm look.
- PVC False Ceiling: Made from polyvinyl chloride (PVC), it is water-resistant. It is lightweight as well. Plus, it’s easy to maintain.
- Mineral Fiber False Ceiling: These materials are made from mineral-based tiles. They are great for soundproofing and fire resistance.
- Stretch False Ceiling: This item is made from flexible fabric material tested over a frame. It has a glossy finish.
- Metal False Ceiling: These materials are often used in commercial spaces because they are strong and long-lasting. Aluminum and steel are especially popular for their modern look. They are also highly durable.
- Plaster of Paris (POP) False Ceiling: It is made from a mix of plaster of Paris. This gives it a smooth and elegant finish. The material is often used for decoration.
- Acoustic False Ceiling: This material is made for soundproofing. It helps reduce noise effectively. People often use it in studios. It is also common in conference rooms.
These types can differ in cost and how well they fit your needs. The choice depends on the available space. It also depends on the look you want to create.
Characteristics Of False Ceilings
There are various types of false ceilings available, each with its own unique characteristics and advantages.
| Type of False Ceiling | Characteristics |
|---|---|
| Gypsum False Ceiling | Gypsum false ceilings are lightweight, easy to install, and offer excellent fire resistance. They can be molded into various designs and are suitable for both residential and commercial spaces. Gypsum false ceilings also have good thermal insulation properties. |
| Metal False Ceiling | Metal false ceilings, typically made of aluminum or steel, are known for their durability and strength. They are resistant to corrosion and moisture, making them suitable for areas with high humidity or moisture, such as bathrooms or kitchens. |
| Wooden False Ceiling | Wooden false ceilings add a touch of elegance and warmth to any room. They can be customized in different finishes and textures to suit the interior design theme. Wooden false ceilings are also eco-friendly and can improve the acoustics of a room. |
Other types of false ceilings include PVC, fiber, and glass ceilings, each offering its own unique characteristics and aesthetic appeal.
Miracles of False Ceiling
- Aesthetic Enhancement: False ceilings provide a stylish appearance. It allows for creative designs and the use of different lighting options. However, some people might prefer traditional ceilings. This is because they feel it gives a more classic approach to a room’s look. Although false ceilings can be modern and elegant, they may not suit everyone’s taste. But with the right design, they can enhance a space.
- Hiding spot: They effectively hide unpleasing elements (like) electrical wiring, plumbing pipes, and air conditioning vents. This provides a clean and tidy appearance. However, some people might not realize how important this is for a room’s overall look. Although it may seem little, these hidden elements can make a difference. But, without proper hiding, a space can feel messy. Because of this, it’s important to think how these features are blended into design.
- Hearing Improvement: By adding an extra layer, false ceilings can help reduce noise levels. This makes rooms more peaceful. Yet, some people might not like the look of them. They can be effective because they absorb sound, but they also take up space. Although they might seem like an easy solution, the benefits can be notable.
- Thermal covering: The other layer helps maintain a stable room temperature. This leads to energy efficiency and lower utility bills. However, many people often overlook its importance. This is a big mistake. Although it may seem like a small detail, proper covering can make a significant difference in your comfort. Because of this, it is very important to think about when planning any home upgrades.
- Lighting Enhancement: False ceilings make it easier to install different types of lighting features. This has open lights and cove lighting. Which helps improve the room’s environment. Regardless, some people might prefer traditional lighting methods. Although false ceilings are popular, they can also be more expensive because of the materials used. But, in the end, many find that the benefits overbalance the costs.
Materials and Tools Needed
Before starting the installation, gather the following materials and tools:
Materials:
- Roof panels (gypsum boards, plasterboard, or other preferred materials)
- Metal framework elements (main carriers, wall hooks)
- Suspension wires or rods
- Fasteners (screws, anchors)
- Jointing compound and tape
- Insulation materials (if instructed)
- Primer and color for finishing
Tools:
- Measuring tape
- Laser Level
- Chalk line
- Drill and proper drill bits
- Screwdriver
- Cutting instruments (utility knife, saw)
- Safety kit (gloves, goggles, dust mask)
Step-by-Step Installation Technique
-
Planning and Design
- Assess the Room: Measure the dimensions of the room accurately using a measuring tape. Note any abnormalities in the existing ceiling or walls.
- Decide Ceiling Height: Decide on the desired height for the false ceiling. Normally, false ceilings are installed 6–8 inches below the actual ceiling. This can change based on design selections and suitable needs.
- Design Layout: Sketch a layout of the ceiling design. Mark the positions of lighting fixtures, air vents, and other installations. This plan will guide the placement of framework parts and ceiling boards.
-
Marking and Preparation
- Mark the Frame: Using a laser level and a chalk line, mark the desired height of the false ceiling along the frame walls. Make sure the lines are straight and level. They will guide the installation of wall hooks.
- Discover Ceiling Beams: Identify the positions of the existing ceiling beams. They will be necessary for confirming the rest wires or rods.
- Clear the Area: Remove any furniture or blocks from the room to make a safe and free workspace. Cover the floor with slide cloths to protect it from waste.
-
Installing Wall Hooks
- Cut Wall Hooks: Measure and cut the wall arcs to fit along the marked border lines. However, this process can be tricky. You need to pay attention to the details You don’t have to worry too much if you make a small mistake. It can often be fixed. Although it may seem simple, every cut values.
- Fix Wall Hooks: Line up the wall hooks with the chalk lines. Secure them to the walls using the proper pins. Confirm they are firmly attached and level. However, you should check them twice. Paying attention to detail is crucial because it affects the general look. But remember, if they aren’t level, it could cause problems later on.
-
Installing Suspension System
- Install Suspension Wires or Rods: Drilling holes into the present ceiling at regular gaps is important. After that, insert anchors into these holes. Then, attach suspension wires or rods to the anchors. Make sure they hang down to the right level for the false ceiling. However, be careful to measure correctly, because it can affect the final look.
- Modify Suspension Height: To make sure all suspension wires or rods are at the right height, use a laser level. This tool can help you check the level easily. Yet, if you find that adjustments are needed, you should make them. It’s important to maintain a level framework because it affects the overall strength. Although it might take some extra time, getting it right is worth the effort.
-
Installing Main Runners and Cross Tees
- Install Main Runners: Attach the main runners to the suspension wires or rods. These should run similarly to each other across the room. It’s important to ensure they are level and securely bound. This will help maintain stability. If they are not correctly aligned, it could cause problems later on.
- Install Cross Tees: To create a grid pattern, you should insert cross tees that are vertical to the main runners. The spacing between these cross tees will vary. It depends on the size of the ceiling panels. which are normally 2×2 feet or 2×4 feet. Still, this can affect the overall look of the ceiling.
- Secure the Grid: Confirm that all connections are tight and the whole grid is level. This framework will support the ceiling boards, so its stability is important.
-
Installing Ceiling Panels
- Cut Panels to Size: Measure and cut the ceiling panels to fit the grid openings. Use a utility knife or saw for exact cuts.
- Install Panels: Lift each panel and tilt it slightly to fit into the grid. Gently lower it into place, providing it rests securely on the framework. Take care to avoid damaging the boundaries or surfaces of the panels.
- Adjust Fixtures: When planning for areas with lighting fixtures, vents, or other installations, it’s important to cut the right openings in the panels before installing. This can help confirm a proper fit. However, make sure to measure carefully. Because if the openings are too small, it can cause problems later on.
-
Finishing Touches
- Seal Joints: To apply the jointing compound to the seams between panels, cover it with jointing tape. You should smooth the mixture to create a seamless appearance. Be careful not to overdo it, because too much blend can cause problems.
- Sand Surfaces: Once the jointing compound is dry, sand the joints and any rough areas. It helps to achieve a smooth finish.
- Prime and Paint: Apply a primer suitable for the ceiling material, followed by paint in the desired color. This not only improves the formation but also saves the ceiling surface.
Installing The Ceiling Tiles
Once you have set up the grid system for your false ceiling, it’s time to move on to the next step – installing the ceiling tiles. This step is crucial as it not only enhances the aesthetic appeal of your space but also provides insulation and hides any unsightly wires, pipes, or imperfections on the actual ceiling.
Placing The Tiles On The Grid System
The first task is to carefully place the ceiling tiles on the grid system. Begin by lifting the tiles through the grid and setting them on top. It’s advisable to start in the center of the room and work your way towards the edges. By angling the tiles slightly, you can easily insert them into the grid slots. This will ensure a snug fit and prevent any gaps between the tiles.
Cutting And Fitting The Tiles As Needed
During the installation process, you may encounter areas where the tiles need to be cut to fit specific measurements or accommodate fixtures such as lights or vents. To do this, carefully measure the space where the tile needs to be placed and mark it accordingly. Use a utility knife or a specialized tile cutter to cut the tile along the marked lines. Once the tile is cut, you can fit it into the designated area, ensuring a seamless integration with the rest of the ceiling.
Securing The Tiles In Place And Ensuring Proper Alignment
After placing and fitting the tiles, it’s important to secure them in place to prevent any movement or displacement. To do this, gently press each tile down, ensuring it is firmly seated on the grid. Check the alignment of each tile and make any necessary adjustments to ensure that they are in a straight line and evenly positioned. This will create a professional and visually appealing finish to your false ceiling.
Adding Finishing Touches And Decorative Elements To The False Ceiling
Once the tiles are securely in place, you can add finishing touches and decorative elements to enhance the overall look of your false ceiling. This may include adding trim pieces, molding, or decorative elements such as rosettes or medallions. These additions can elevate the aesthetic appeal of your ceiling and make it a standout feature in your space.
Installing the ceiling tiles is a pivotal part of creating a beautiful and functional false ceiling. By following the steps outlined above, you can ensure a seamless installation process, resulting in an impressive and eye-catching ceiling that adds value to your space.
Tips And Safety Precautions
Safety Protection
- Protective Supplies: Always wear safety goggles, gloves, and a dust mask to protect against waste and dust.
- Stable Support: Use a sturdy ladder or frame when working at heights to prevent slips.
- Electrical Safety: Make sure that all electrical circuits are turned off when working near wiring to prevent shocks.
- Useful Ventilation: Work in a well-ventilated area. Especially when sanding or painting, to avoid dust.
Maintenance Tips
- Regular Review: Sometimes check the false ceiling for signs of wear, damage, or moisture intrusion. Early detection can prevent more meaningful problems.
- Cleaning: Dust the ceiling regularly using a soft cloth or vacuum with a brush attachment to maintain its impression.
- Controlling Damage: If any panels become damaged, replace them. It will maintain the goodness and aesthetics of the ceiling.
Conclusion
Installing a false ceiling is a rewarding project. It significantly improves the look of a room. By following this complete guide, you can achieve a professional result. It adds value and comfort to your living room. Remember to prioritize safety throughout the process and take your time to confirm each step is completed accurately.
Frequently Asked Questions For False Ceiling Installation
How Much Should I Charge For Installing A False Ceiling?
For installing a false ceiling, the cost can vary depending on various factors such as the size of the room, the complexity of the design, and the material used. It is best to consult with a professional contractor who can provide an accurate quote based on your specific requirements.
What Is The Easiest Ceiling To Install?
Surface-mount ceilings are the easiest to install. The grid for the system is much easier to install than the drop-ceiling grid, and the tiles attach directly to the grid.
Do You Drywall Before Or After Drop Ceiling?
Drywall can be done either before or after the installation of a drop ceiling, based on personal preference and project requirements. It is commonly done before, as it simplifies the process for drywallers and ensures a complete angle on the ceiling.
However, it is not mandatory and can be done in a different order if desired.
What Is The Minimum Drop For A Drop Ceiling?
The minimum drop for a drop ceiling typically ranges from 3-5 inches. However, it may vary depending on the specific installation instructions and manufacturer recommendations. It’s important to follow the guidelines provided to ensure proper installation of the drop ceiling.
Conclusion
Installing a false ceiling can greatly enhance the aesthetic appeal of any space while also offering practical advantages. The process involves properly setting up the grid system and carefully placing the ceiling tiles. Surface-mount ceilings are often considered the easiest to install.
The order of installation, whether drywall or suspended ceiling first, depends on individual preferences. Additionally, it is important to consider the cost and the minimum drop required for a drop ceiling. Overall, with the right techniques and knowledge, false ceiling installation can be a successful DIY project or entrusted to professionals.


Pingback: Conference Room Design: Unlock Secrets & Inspire Innovation
Pingback: Drawing Room Decoration in Bangladesh: Design Your Space